


Mounting Your Own Medals? This is your DIY Guide
Medals are symbols of honour, courage, and dedication. For many Australians, these medals represent personal achievements or the bravery of loved ones. Mounting these medals yourself can be a rewarding experience, ensuring they are displayed with the respect and dignity they deserve. This guide will walk you through the step-by-step process of DIY medal mounting in Australia, providing you with tips and techniques to achieve a professional finish.
Why Mount Your Own Medals?
- Personal Touch: Adding a personal touch to your medals can make the display even more meaningful.
- Cost-Effective: DIY mounting can save you money compared to professional services.
- Customisation: You have complete control over the arrangement and presentation of your medals.
Medal Mounting Types
Mounting medals is a cherished way to display achievements and doing it yourself can add a personal touch. There are several methods to choose from, each offering a unique way to showcase your medals.
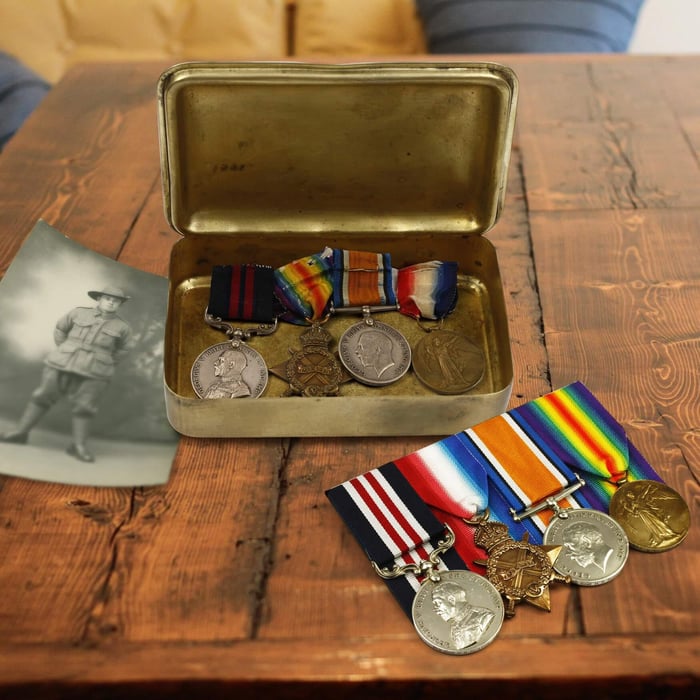
Swing Mounting is a traditional method where medals are hung from a bar, allowing them to swing freely. This style is often used for military medals and creates a classic, dynamic display. It's ideal for those who want their medals to have movement and a more authentic look.
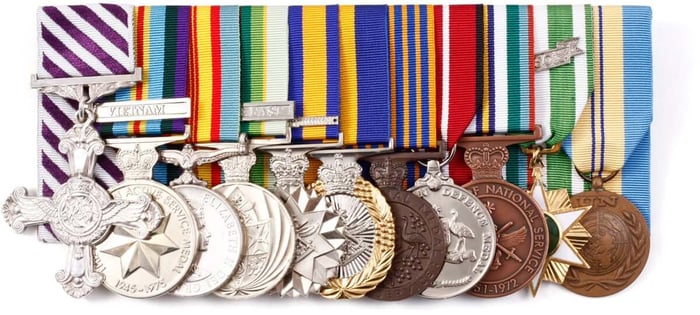
Court Mounting involves fixing medals to a backing board, preventing movement. This method is preferred for a neat and orderly presentation. Medals are arranged in a row, securely fastened, and covered with a ribbon. Court mounting is perfect for a formal display, keeping medals in place for a polished appearance.
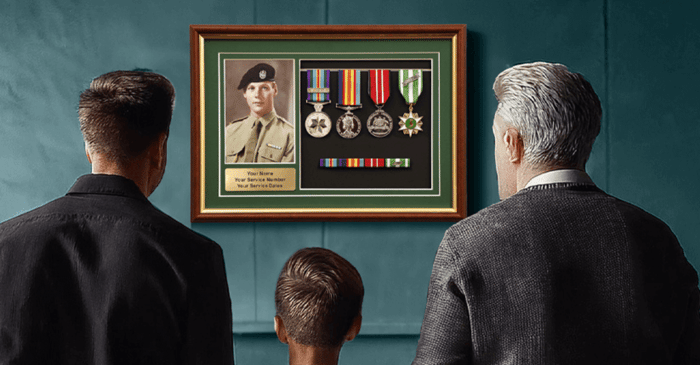
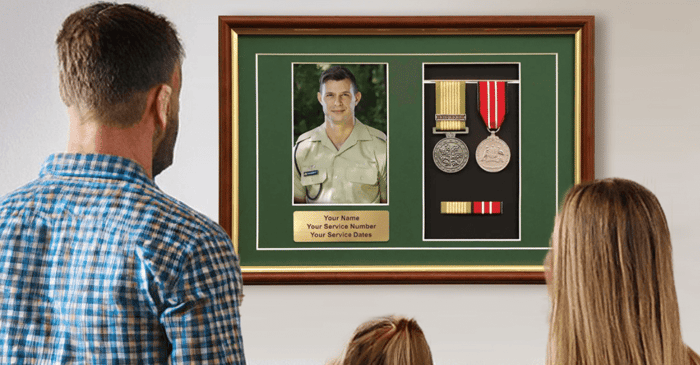
Framed Mounting offers a way to encase your medals in a frame, often with a felt backing and a glass cover. This method protects medals from dust and damage while providing an elegant display. It's a great choice for preserving and showcasing medals in a home or office setting.
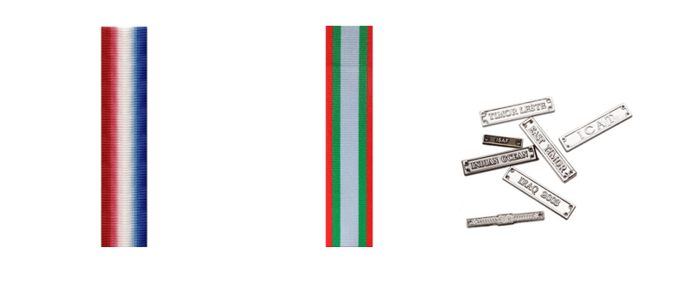
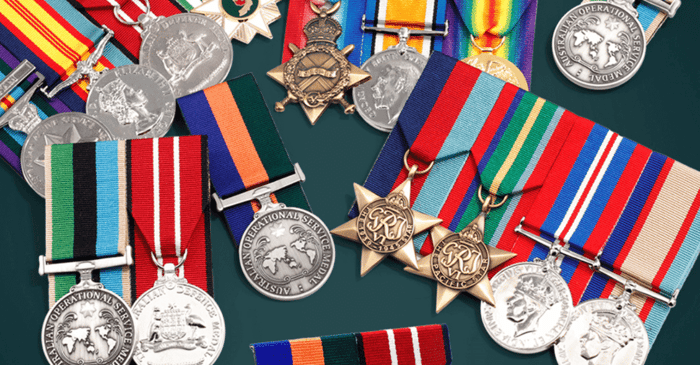
1914 - 1915 Star Full Size Ribbon , Miniature NSW RFS Long Service Medal Ribbon,
20 Year Victorian Police Medal Dot for Ribbon Bar
Materials Needed
Before you begin, gather the following materials:
- Your medal or replica medals
- Mounting bar or frame
- Ribbon (matching the medals)
- Needle and thread
- Scissors
- Ruler
- Double-sided tape or glue
- Protective backing (optional)
Read: Who Gets The Medals?
Step-by-Step Guide to DIY Medal Mounting
Step 1: Plan Your Layout
Before you start mounting, decide on the arrangement of your medals. Consider the order of precedence and how you want them to be displayed. Medals should typically be mounted in order of importance, from left to right as viewed.
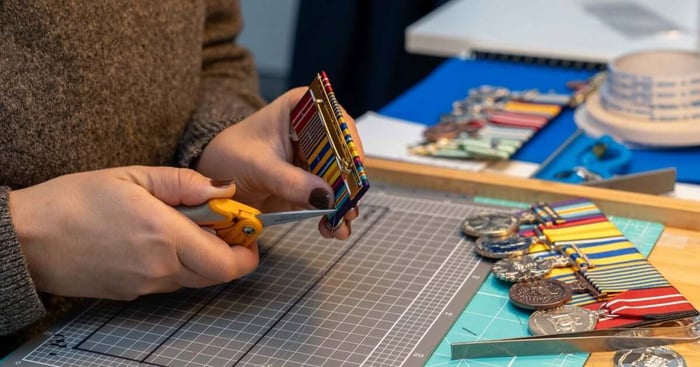
Step 2: Cut the Ribbon
Measure the length of ribbon needed for each medal. It should be long enough to loop through the medal’s ring and secure it to the mounting bar or frame. Cut the ribbon to size, ensuring each piece is equal in length.
Step 3: Attach the Ribbon to the Medals
Loop each piece of ribbon through the ring on each medal. Fold the ribbon back and stitch it securely, creating a loop that holds the medal firmly. Ensure the stitching is tight and neat to maintain a professional appearance.
Step 4: Secure the Medals to the Mounting Bar
Arrange the medals on the mounting bar or frame according to your planned layout. Use double-sided tape or glue to hold the ribbons in place temporarily. Then, stitch the ribbons to the mounting bar for a more secure attachment. Make sure the medals are evenly spaced and aligned.
Step 5: Add a Protective Backing
For added durability and a polished look, consider adding a protective backing to your mounted medals. Cut a piece of backing material to size and attach it to the back of the mounting bar or frame. This will protect the ribbons and stitches from wear and tear.
Step 6: Final Adjustments
Once all medals are securely attached, make any final adjustments to ensure they are straight and evenly spaced. Trim any excess ribbon or thread for a clean finish.
Read: Medals FAQs
Tips for a Professional Finish
- Use Quality Materials: High-quality ribbon and mounting bars will enhance the overall look and durability of your mounted medals.
- Take Your Time: Precision is key to achieving a professional finish. Take your time with each step to ensure the best results.
- Practice Makes Perfect: If you’re new to DIY medal mounting, consider practising on a less important medal or a piece of scrap material before working on your prized medals.
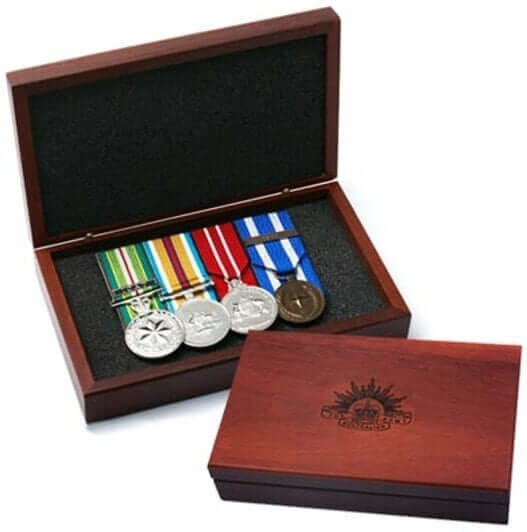

Jarrah Medal Case w/Army Rising SunandMedal Case Black
Storing Mounted Medals
Storing mounted medals in a case, box, or frame is essential for preserving their condition and ensuring their longevity. These storage methods protect medals from dust, moisture, and physical damage, which can tarnish and degrade their appearance over time. A case or box provides a secure environment that prevents scratches and dents, while a frame not only offers protection but also allows for an elegant display, keeping medals visible and honoured. Proper storage maintains the integrity of the medals, safeguarding the memories and achievements they represent for future generations.
Mounting your own military medals in Australia can be a fulfilling project that adds a personal touch to your display. By following this step-by-step guide, you can achieve a professional and respectful presentation of your hard-earned or treasured medals. Remember, patience and attention to detail are essential for a successful DIY medal mounting.
By following this guide, you'll not only save money but also ensure that your medals are displayed with the honour and respect they deserve by adding your personal touch. Whether you’re a veteran or a family member preserving a loved one's legacy, DIY military medal mounting is a rewarding way to showcase these symbols of bravery and service.

Read: Helping Veterans Keep Stunning Original Medals Safe
Disclaimer: These instructions are intended for individuals undertaking a DIY project. For professional results, please contact a qualified expert. Check out Military Shop, Australia for all your Military, Police, Emergency Service, Corrective Service, and Foreign Medal needs.