

The Battle
of Lone Pine
Discover the people, events and research behind each commissioned work.
View the original commissioned artwork and, where available, enquire about acquisition.
Discover and purchase rare #1–#10 Archive Editions and historically significant retained pieces.
Explore related Limited Edition lapel pins, medallions and art.
A diversion that became one of Gallipoli's fiercest battles
The Battle of Lone Pine formed part of the August Offensive, designed to draw Ottoman reserves away from the main Allied effort against the Sari Bair range. The battlefield lay on the 400 Plateau, where a comparatively open no-man's-land separated the opposing positions.
Late on 6 August 1915, following an artillery bombardment, the Australian 1st Brigade advanced across exposed ground towards heavily fortified Turkish trenches. Some of the front-line positions were roofed with pine logs and earth, forcing soldiers to break through the roofs or enter through openings created by shellfire.
The first objective was taken quickly, but the battle did not end there. For the next three days, Australian and Ottoman troops fought at extraordinarily close range as repeated counter-attacks sought to regain the position.
Read the Battle in more detail
The attack at Lone Pine was intended to support the wider August Offensive by drawing attention and reserves away from operations towards Sari Bair, Chunuk Bair and Hill 971. The position took its name from the pine on the plateau.
The assault was launched late in the afternoon of 6 August. Australian troops crossed open ground towards a trench system whose defences included sections protected by strong log roofs and earth. Soldiers were forced to tear at the overhead protection and fight their way into the trenches.
Once inside, the action became a confused series of struggles through trenches, traverses and dugouts. The captured position was held through repeated counter-attacks over the following days, turning a diversionary attack into one of the most intense Australian actions of the Gallipoli campaign.
Researched with military historians and subject-matter experts
A defining feature of BrandNet's major military art commissions is the research behind them. For The Battle of Lone Pine, Drew Harrison worked with Brigadier Chris Roberts AM CSC (Retd) and historian Graham Wilson to help ensure that the terrain, line of attack, uniforms, equipment and trench system were represented with unusual historical precision.
Roberts had visited the Lone Pine battlefield before later redevelopment and brought first-hand knowledge of its compact scale. Harrison's own notes describe detailed consultation over the Australians' white patches and armbands, the covered Turkish trenches, the timing of the assault and the flat plateau terrain.
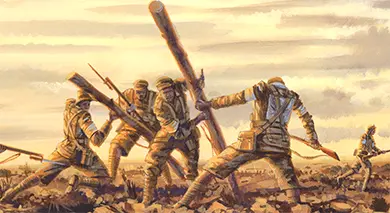
Breaking into the trenches
The covered front-line positions were a defining feature of the battle. Harrison used the struggle around these fortifications to make the trench system understandable within the scene.
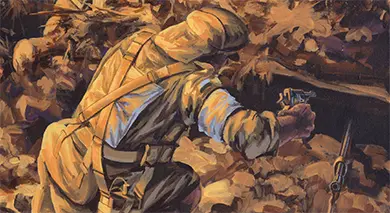
The closeness of combat
The composition brings opposing soldiers into the same confined visual space, reflecting the extraordinarily close-range nature of the fighting once the trench line was reached.
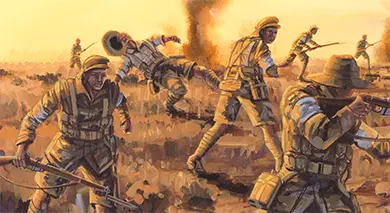
A requiem, not a glorification
Harrison's notes make clear that he wanted the finished painting to honour those who served and died without romanticising the violence of battle.
Read more about the historical research
The Sands of Gallipoli historians worked closely with Harrison during the project. Particular attention was paid to details easily lost in a dramatic painting: late-afternoon light, the Australian line of advance, soldiers' kit, distinctive battlefield terrain and the roofed Ottoman trench system.
Harrison also drew on the Australian War Memorial's Lone Pine diorama, particularly because surviving photographic material from the opening phase of the battle is limited. His notes explain how the final composition was shaped through consultation with Roberts and supported by historic artistic and museum references.
The result sought to balance emotional force with historical detail, while avoiding any glorification of the fighting.
The Battle of Lone Pine - Drew Harrison
Almost a century after the battle, Military Shop commissioned Adelaide artist Drew Harrison to create a new interpretation of the opening assault for the 2013 Sands of Gallipoli Collection. The work was completed in late 2012.

The artist's approach
Harrison has described how the Australian War Memorial's Lone Pine diorama had stayed with him since childhood. When the commission began, that memory became one of the starting points for the work. His challenge was to portray a battlefield that was relatively flat while still communicating the fear, movement and closeness of the fighting.
Light, terrain and fortification
The low late-afternoon sun created the long shadows and warm light that help drive the composition. The covered Turkish trenches were another essential feature: heavily roofed, concealed positions that the Australians had to locate, open and enter under fire.
Drew Harrison
Adelaide-based artist Drew Harrison came to military art with formal illustrative training and a strong background in aviation painting. Historical detail and accuracy are recurring features of his military commissions.
Read more about Drew Harrison
Harrison works primarily in acrylic and has moved across illustration, aviation, landscape, wildlife and contemporary narrative art. His detailed aviation work influenced the technique he returned to for Lone Pine, while his landscape experience helped him handle the battlefield's light and terrain.
Earlier war artists including George Lambert, H. Septimus Power and Ivor Hele are among the artists he has identified as influences.
In Drew Harrison's own words
Harrison's surviving notes give unusual insight into how the painting was researched and constructed — from his childhood memory of the Australian War Memorial diorama to the consultation that shaped the uniforms, trenches, viewpoint and light.
Read Drew Harrison's artist's notes
Harrison describes the challenge of building a convincing battle scene on relatively flat terrain, the importance of the late-afternoon light, the covered Turkish trenches and the historical details that distinguish the Australian troops.
He also explains the influence of the Australian War Memorial diorama and earlier war artists, and his desire for the work to act as a remembrance of those who served rather than a celebration of combat.
Acquire the original commissioned artwork
The original painting from which the Lone Pine collection was created has remained in the BrandNet collection. This is the source artwork behind the 2013 Sands of Gallipoli Lone Pine collection.
Specialist delivery, insurance and installation requirements can be arranged directly with the purchaser.
Acquire the Original Enquire About the ArtworkThe earliest numbered editions, preserved since release
BrandNet retained editions #1–#10 from two important Lone Pine medallion releases. Each carries its original numbered certificate of authenticity and can be acquired by its exact edition number.
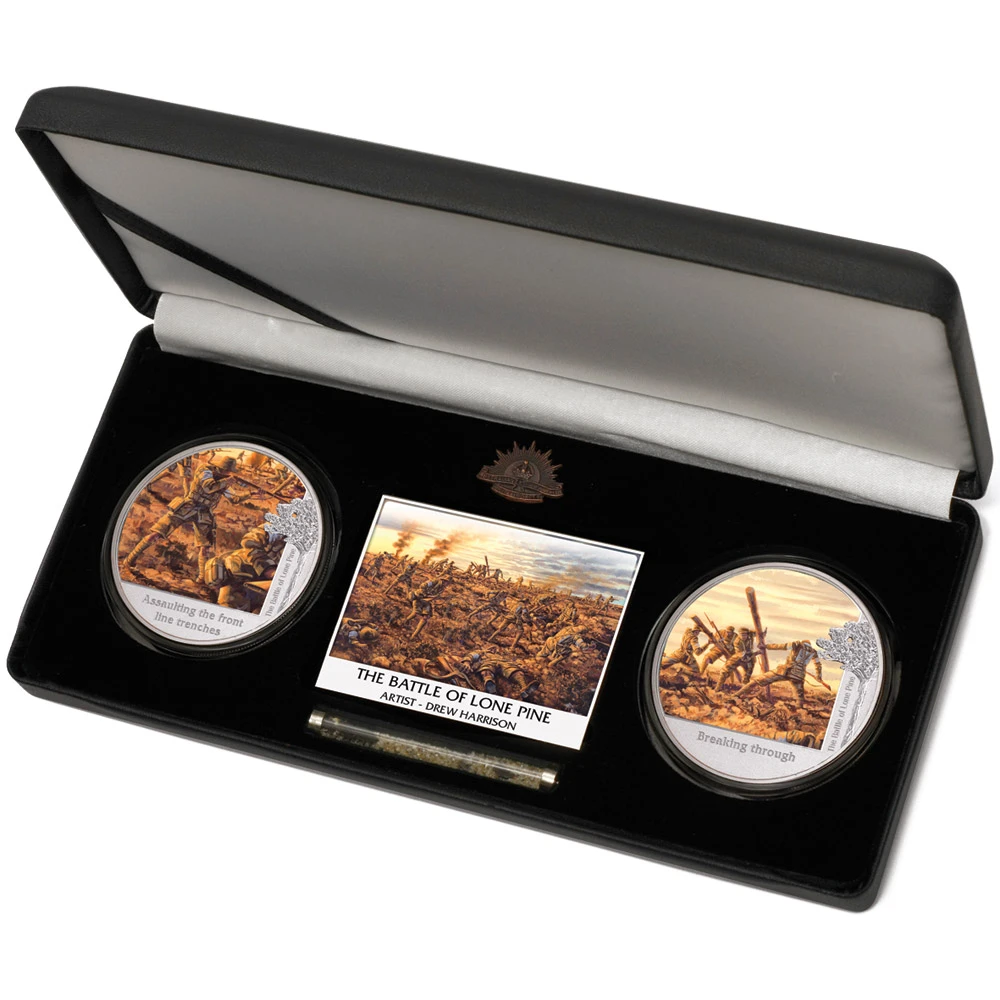
Lone Pine Set of Two — Archive Editions #1–#10
Originally released as a numbered Limited Edition set with two proof-quality medallions, Gallipoli sand, a miniature presentation of Drew Harrison's artwork and a numbered certificate of authenticity.
BrandNet retained the first ten numbered sets. These Archive Editions are being offered individually, allowing the collector to choose the exact certificate number.
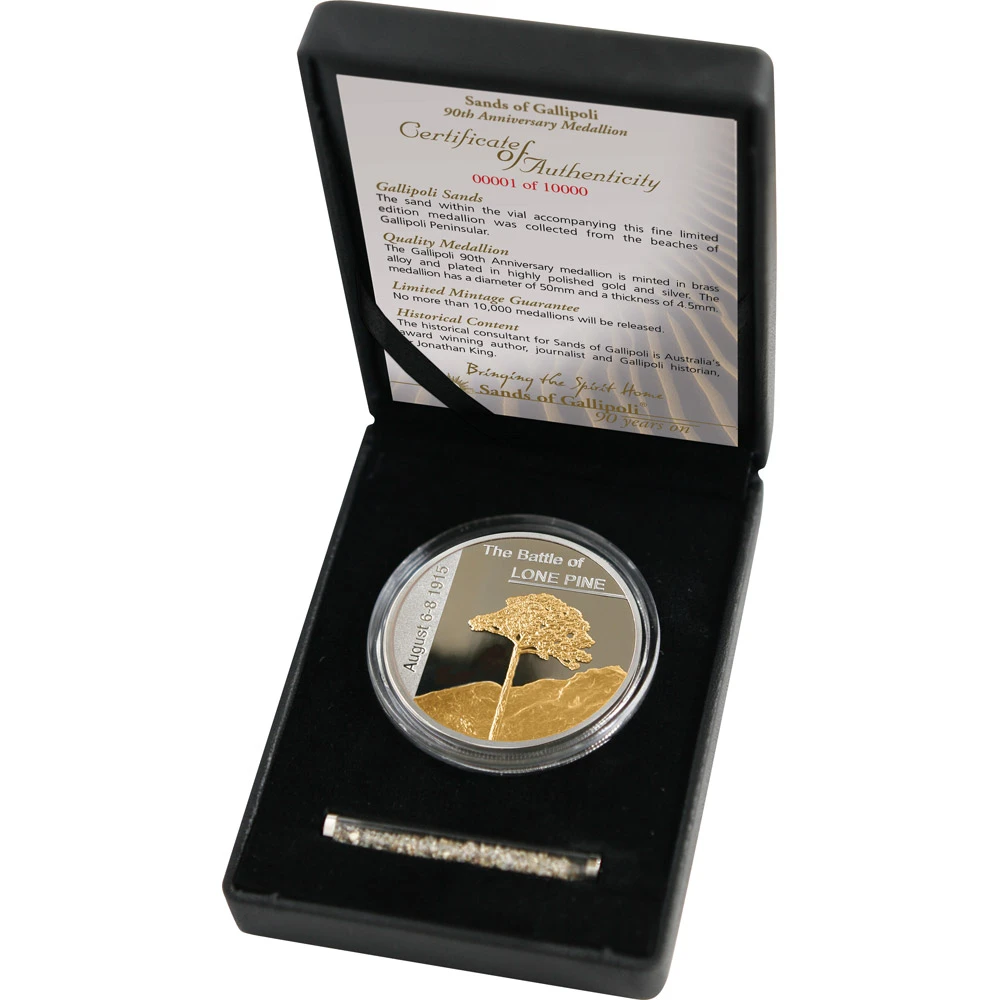
Battle of Lone Pine Single Medallion — Archive Editions #1–#10
This earlier Sands of Gallipoli release commemorated the Battle of Lone Pine in a single presentation medallion, accompanied by Gallipoli sand and a numbered certificate of authenticity.
BrandNet retained editions #1–#10. With the general release no longer available, these low-number Archive Editions represent the final BrandNet-held examples of this collection.
Own a part of the Lone Pine collection
Harrison's artwork became the visual foundation for a series of Limited Edition pieces. Each offers a different way to connect with the history, the artwork and the Sands of Gallipoli collection. The prices below also show the distinction between standard-number stock and the low-number Archive Editions above.
 Click to enlarge
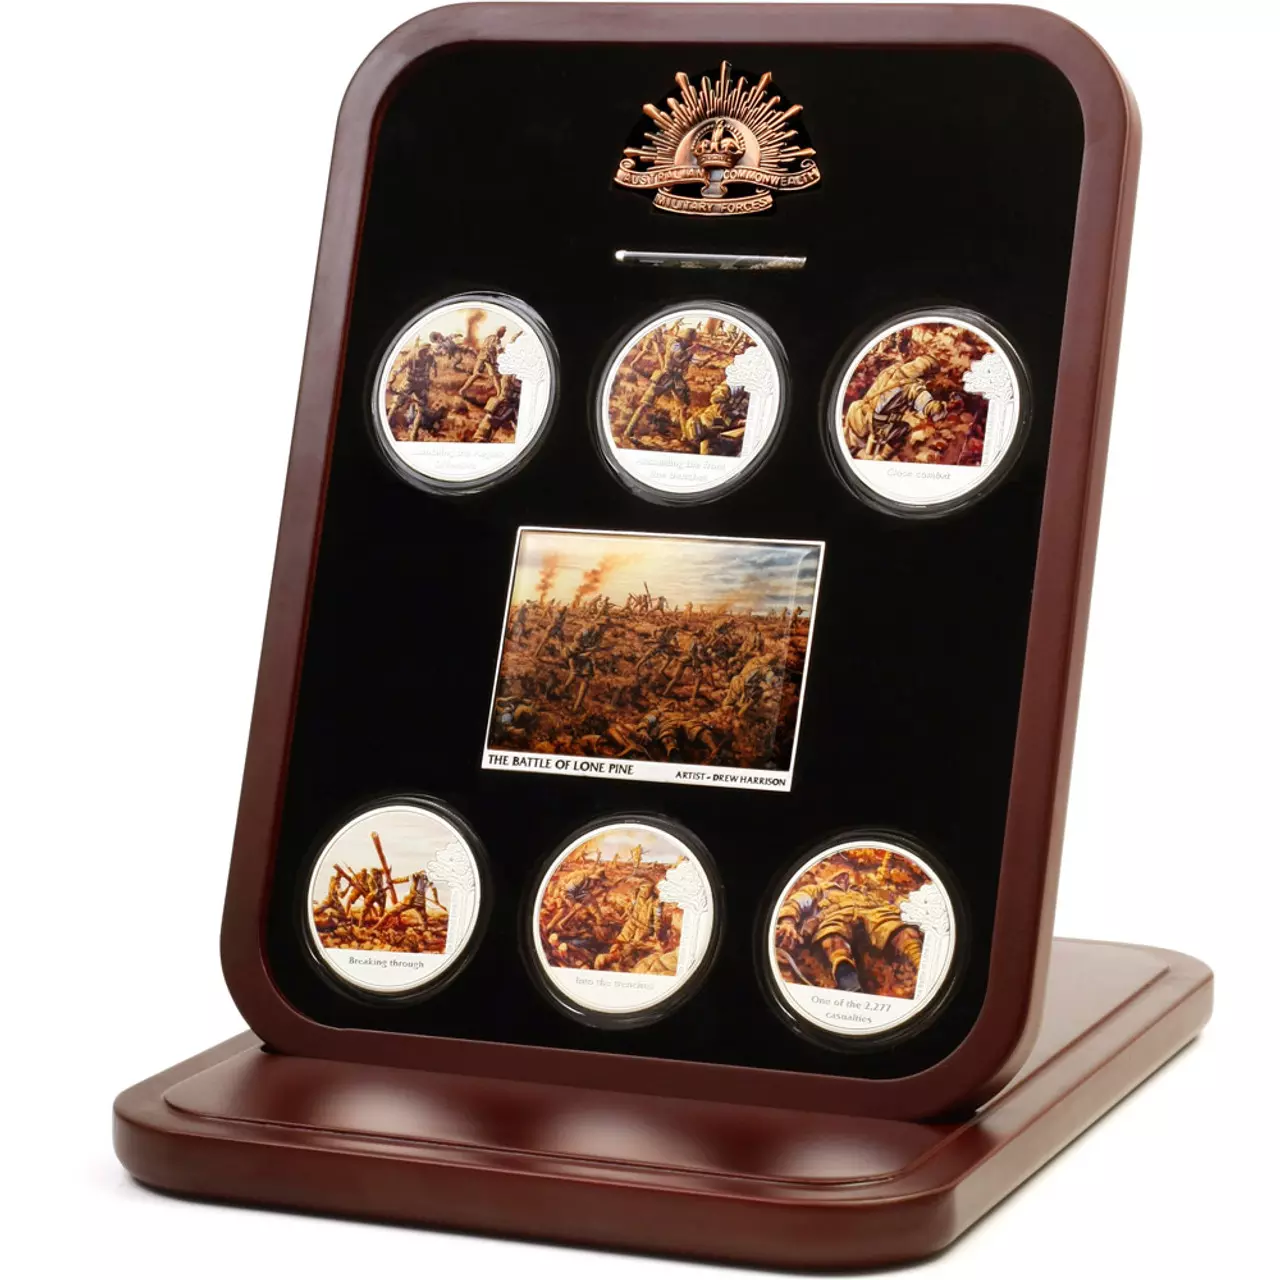
Set of Six Limited Edition Medallions
The most complete medallion presentation in the Lone Pine collection. Six full-colour proof-quality medallions feature details from Drew Harrison’s painting, accompanied by authentic Gallipoli sand, a colour print in a metal frame, a full-size replica 1904 Rising Sun hat badge and a numbered certificate of authenticity.
View the set →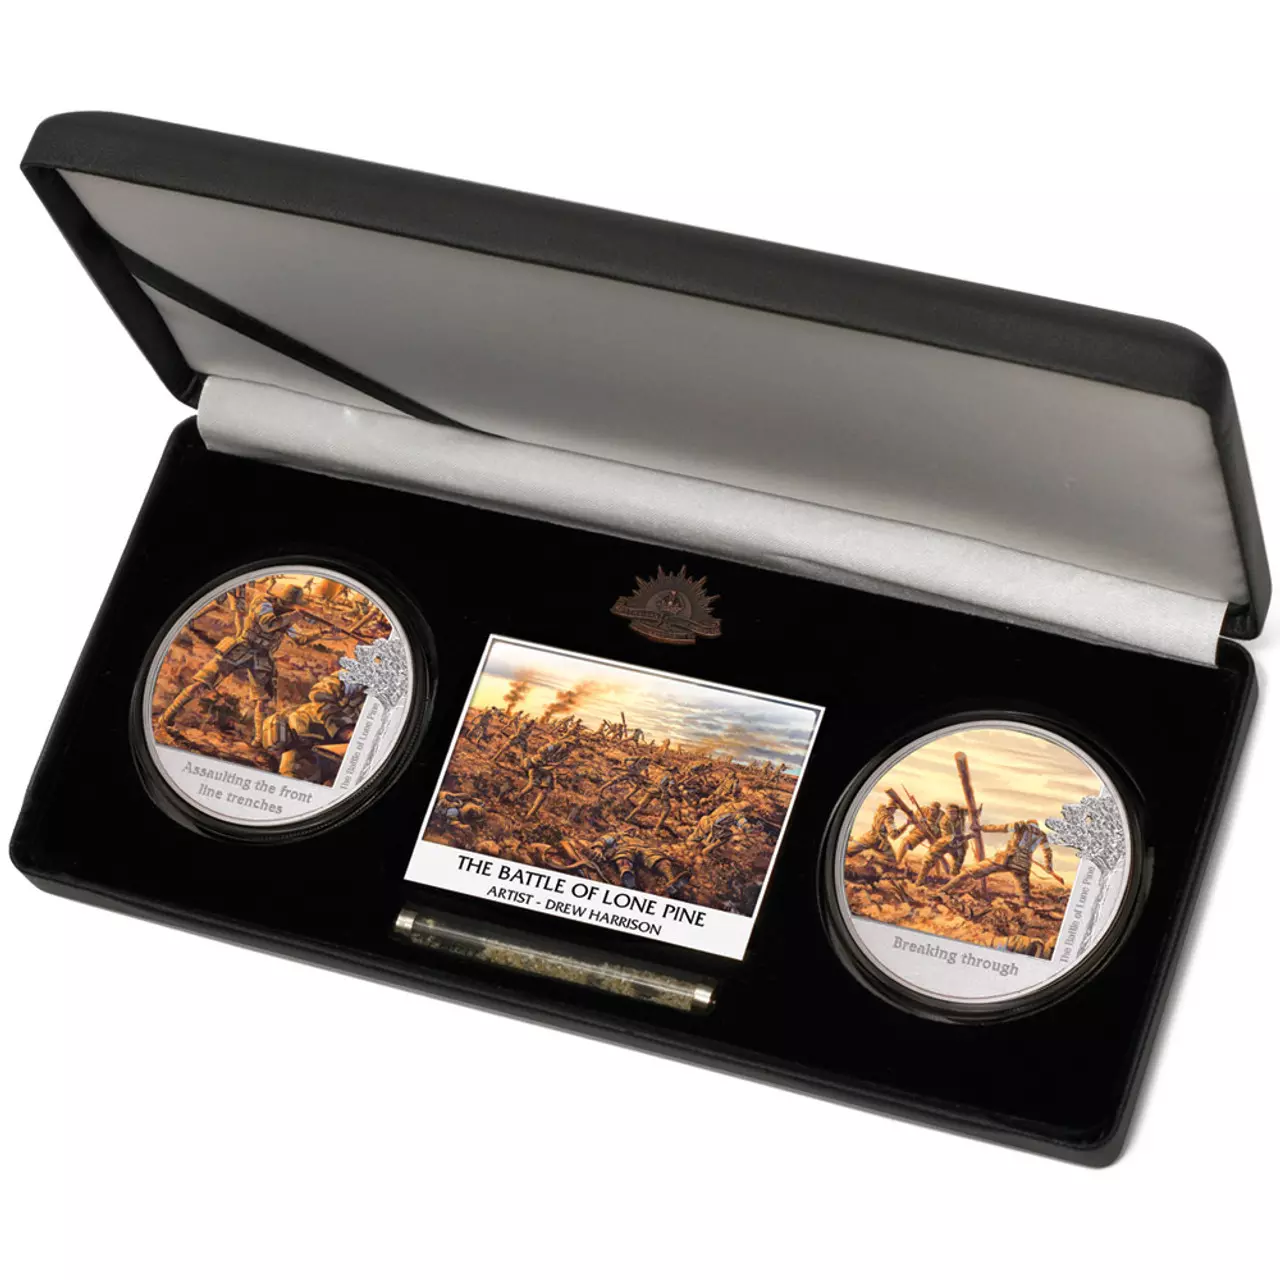 Click to enlarge
Set of Two Limited Edition Medallions
A beautifully presented introduction to the Lone Pine collection. Two full-colour proof-quality medallions feature details from Drew Harrison’s painting, accompanied by authentic Gallipoli sand, a miniature metal reproduction of the artwork, a miniature Rising Sun badge and a numbered certificate of authenticity.
View the set →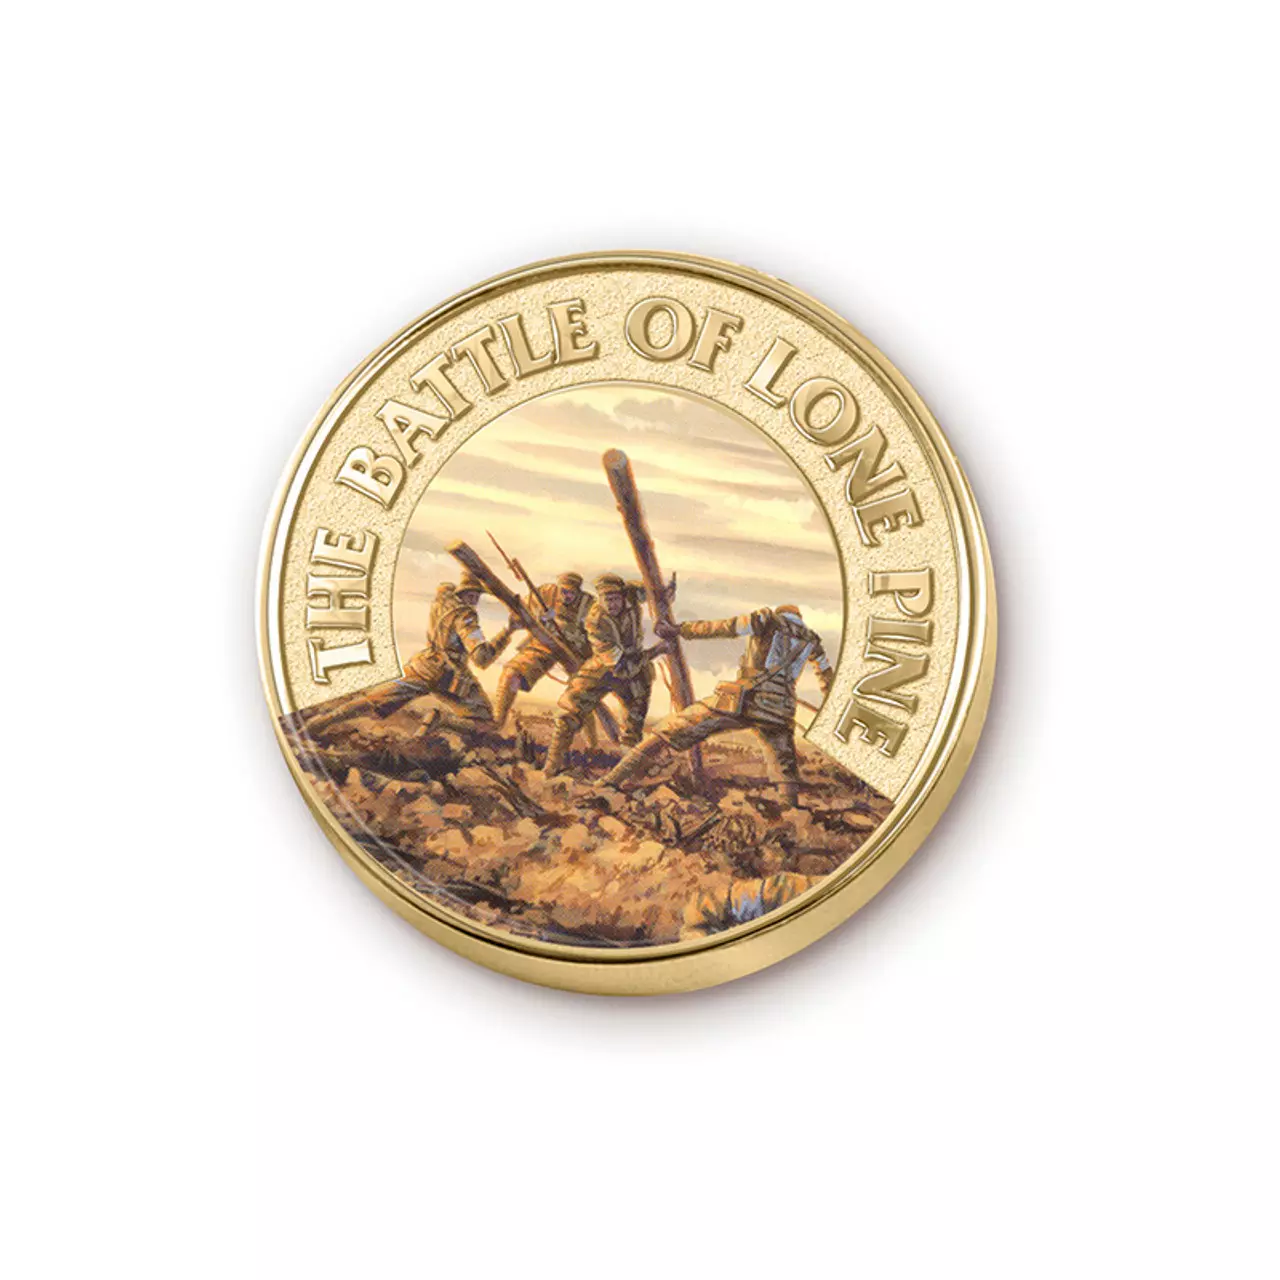 Click to enlarge
Battle of Lone Pine Limited Edition Lapel Pin
A small but highly collectable connection to the Lone Pine story. The pin captures a dramatic detail from Harrison’s artwork in die-struck brass with a sandblasted gold background and full-colour overlay, with each piece individually laser-engraved with its Limited Edition number.
View the pin →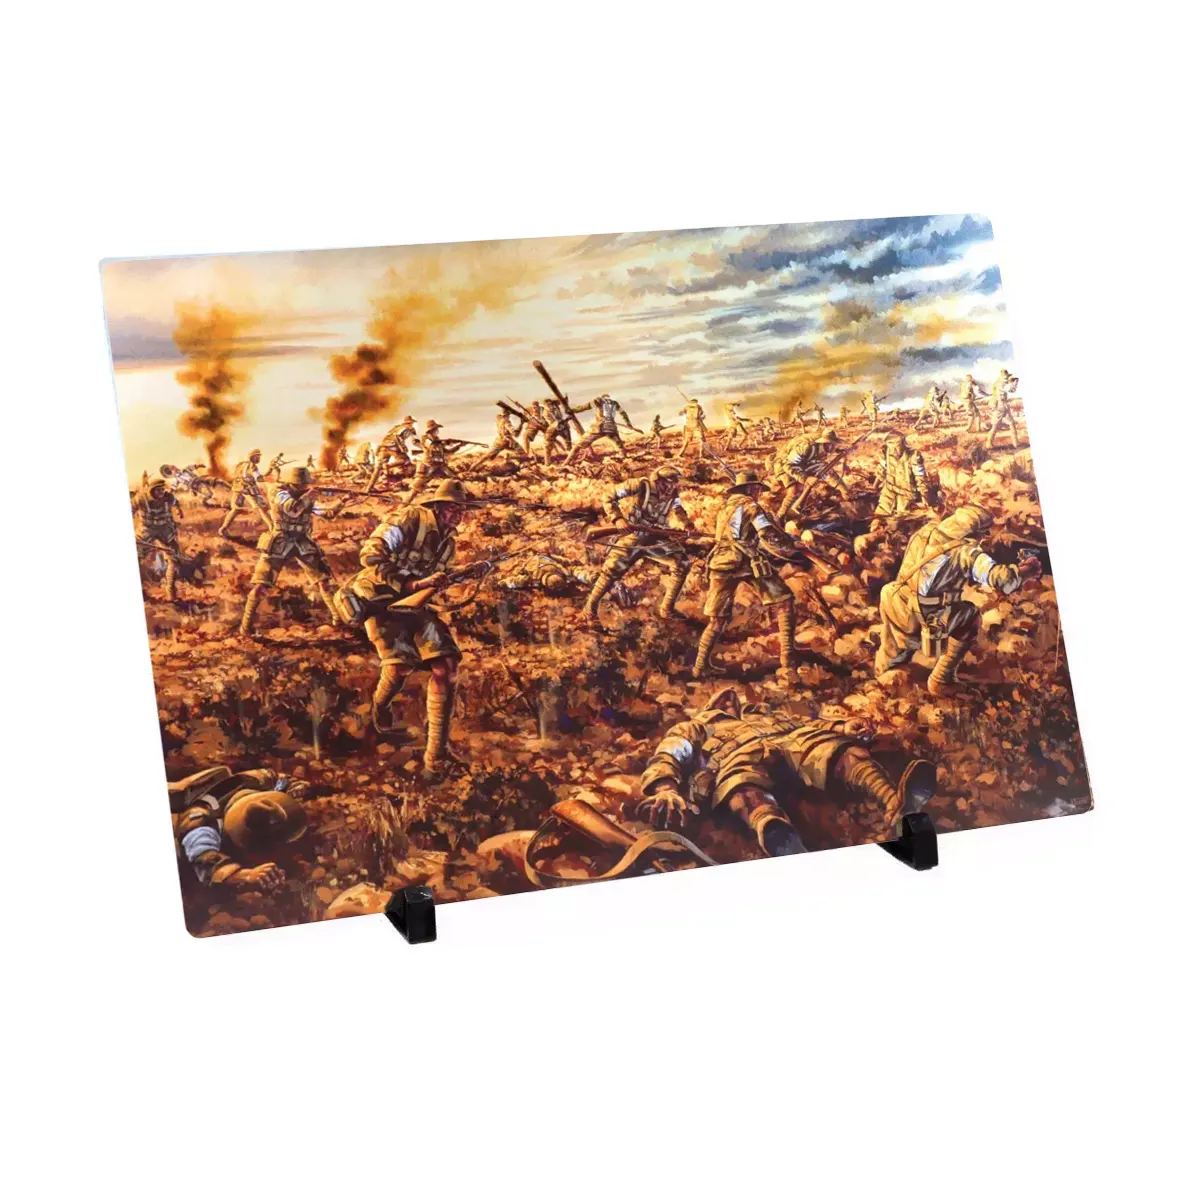 Click to enlarge
Battle of Lone Pine Aluminium Print
A striking contemporary presentation of Harrison’s complete composition. Printed on solid aluminium, the 360 × 260 mm format brings out the warm late-afternoon light, contrast and fine battlefield detail while remaining compact enough for easy display.
View the artwork →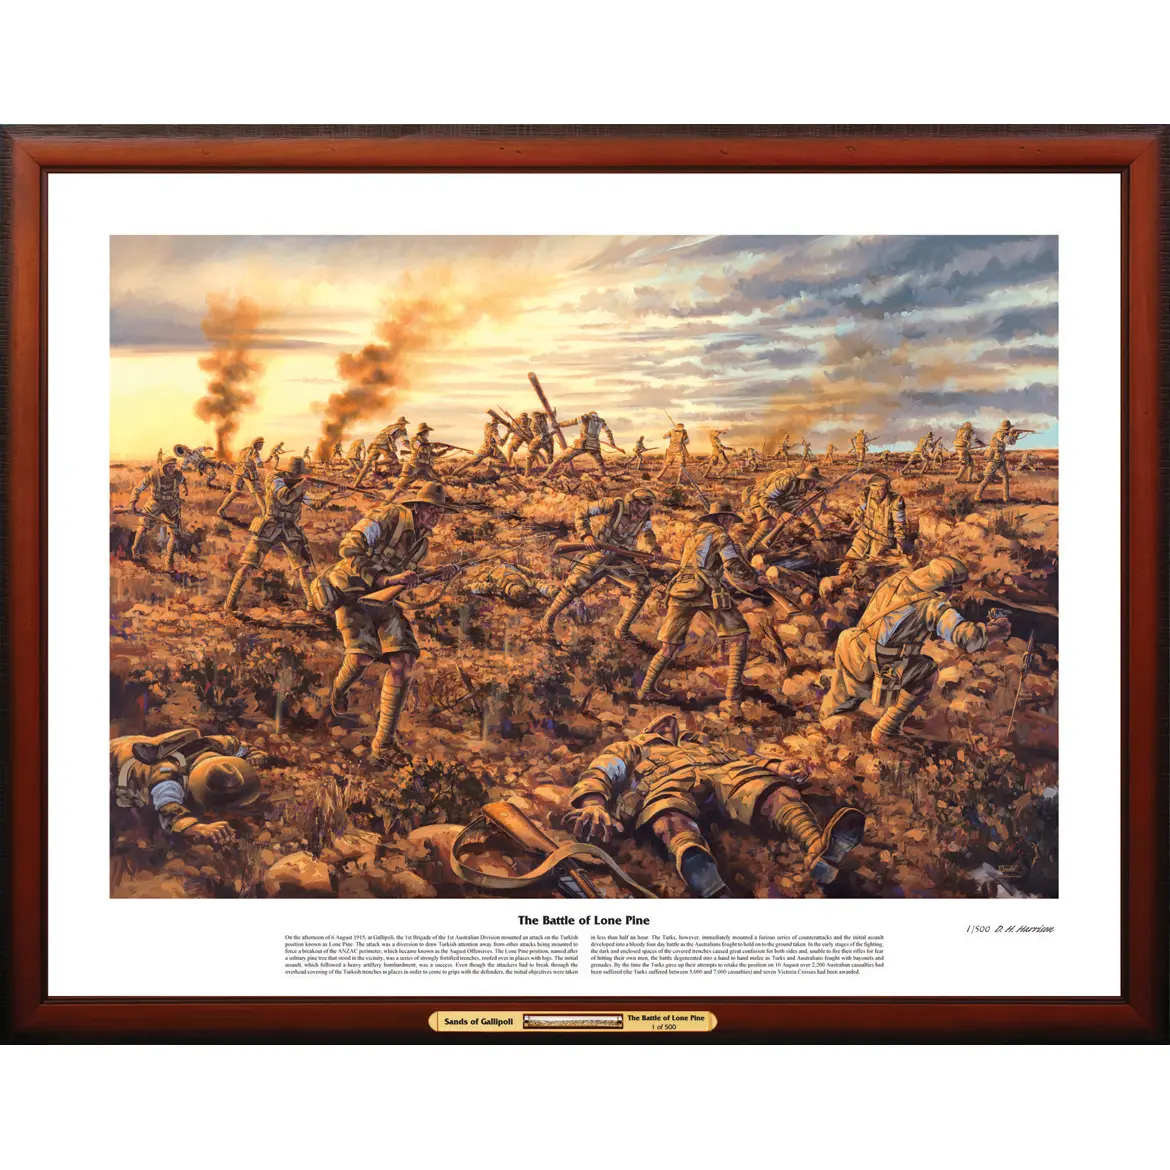 Click to enlarge
Framed Giclée Print
A premium framed Giclée print for the serious collector. Hand signed and individually numbered by Drew Harrison, it is printed on fine art matte paper and includes authentic Gallipoli sand — combining the artist’s work, the history and the provenance of the Sands of Gallipoli collection in one display piece.
View the print →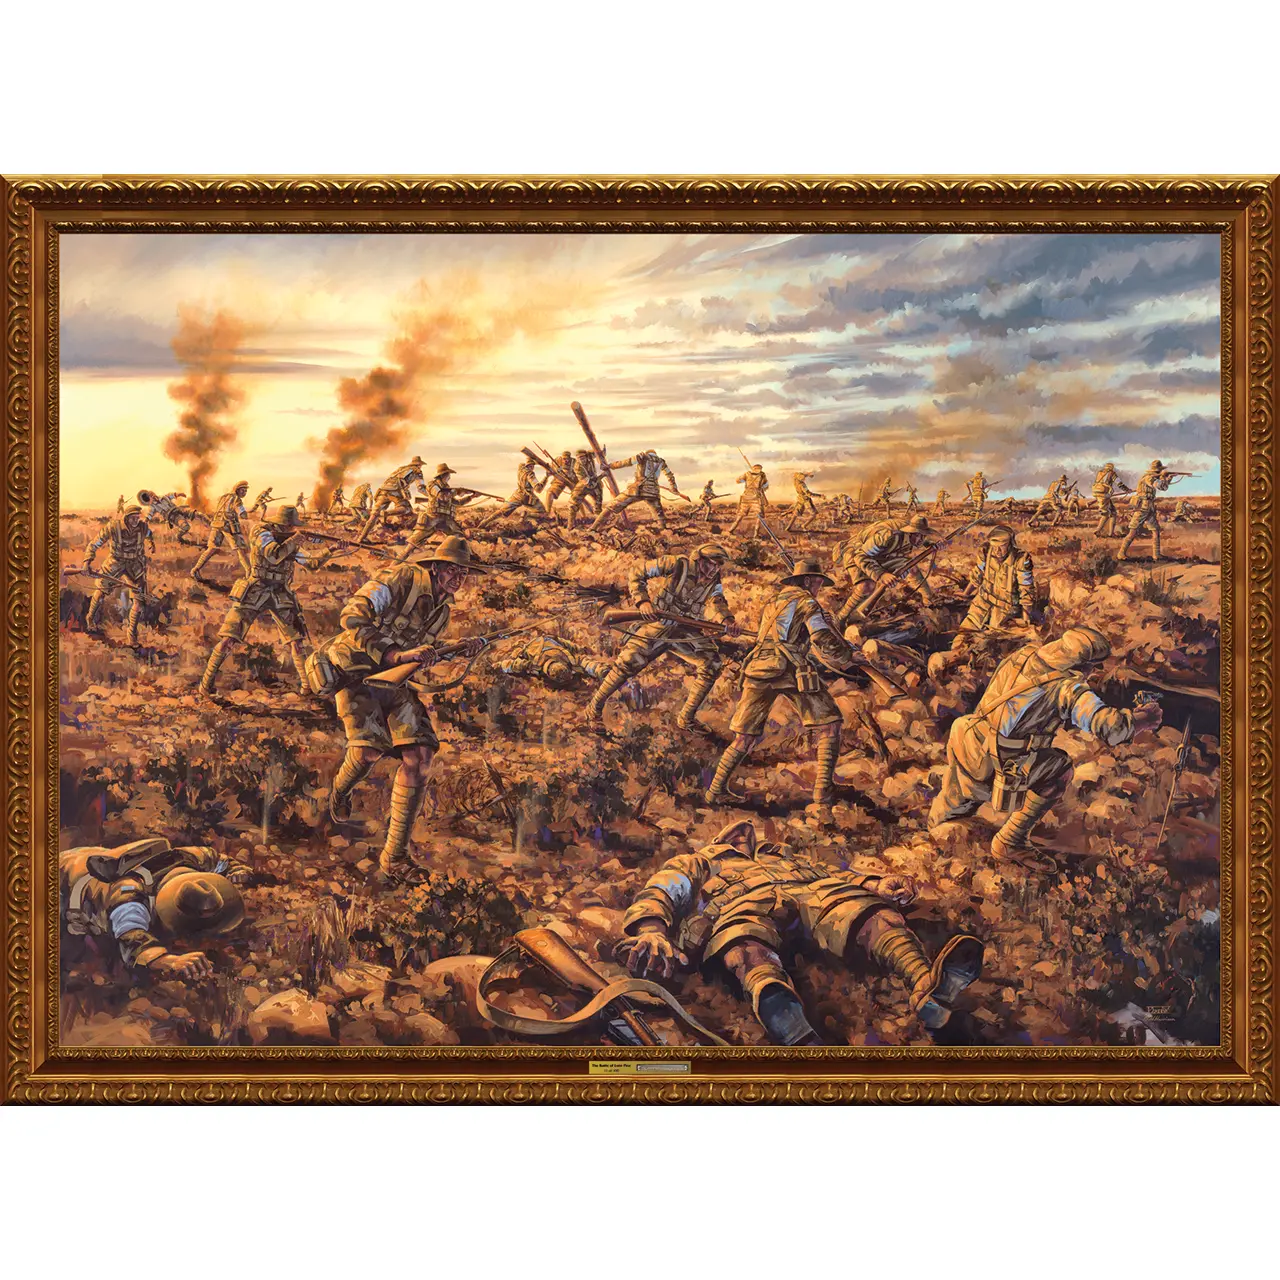 Click to enlarge
Full Size Canvas Edition
The closest way to experience Harrison’s original painting at full scale. At 1545 × 1130 mm, this commanding canvas reproduces the composition at the size of the original and includes a numbered metal plate holding authentic Gallipoli sand, together with a certificate of authenticity.
View the canvas →History, artwork and collecting
Explore the Battle of Lone Pine, how Drew Harrison’s painting was researched and created, and the Limited Edition collections that grew from the commission.
The Battle
What was the Battle of Lone Pine?
The Battle of Lone Pine was fought at Gallipoli from 6–9 August 1915 during the August Offensive. Australian troops of the 1st Brigade attacked a heavily fortified Ottoman position, captured the main trench line and then held it through repeated counter-attacks and brutal close-quarter fighting.
Read more
The attack was conceived as a diversion. Its purpose was to draw Ottoman troops and attention away from the main Allied effort further north towards the Sari Bair range, including Chunuk Bair and Hill 971.
Late on 6 August, following an artillery bombardment, three Australian battalions advanced across the relatively open ground of the 400 Plateau. The main Ottoman front trench was formidable: sections were protected by heavy log roofing covered with earth, leaving attacking soldiers exposed while they tried to find or create entry points.
The Australians captured the main position quickly — contemporary Sands of Gallipoli material records the ground being taken in about 20 minutes — but the capture was only the beginning. For the next three days, Ottoman forces launched repeated counter-attacks in an effort to retake the trenches.
What followed was confused, exhausting and extremely close-range fighting through trenches, traverses and dugouts. The restricted battlefield and density of troops made Lone Pine one of the most intense actions of the Gallipoli campaign.
Why was Lone Pine attacked?
Lone Pine was attacked primarily as a diversion to support the wider August Offensive. The aim was to force Ottoman commanders to commit reserves to the southern Anzac sector while Allied forces attempted to seize key heights on the Sari Bair range.
Read more
The Allied plan for August 1915 sought to break the deadlock at Gallipoli by threatening the heights dominating the peninsula. The Lone Pine attack was part of this broader design.
Although diversionary in purpose, the objective itself was strongly defended and tactically important. Once the Australians seized the Ottoman front line, the defenders fought relentlessly to regain it. The action therefore became far larger and more costly than a simple feint.
The intensity of the battle also meant that Lone Pine became one of the defining Australian actions of the campaign, remembered for both the determination of the attackers and the ferocity of the fighting that followed.
Why was the fighting at Lone Pine so intense?
The fighting was so intense because large numbers of troops were compressed into a very small trench system. Once Australian soldiers reached the Ottoman positions, the battle shifted from an open assault to close combat through trenches, roofed positions and dugouts.
Read more
Brigadier Chris Roberts, one of the historians who advised on Harrison’s painting, had visited the battlefield before later redevelopment and described how compact the engagement area was for the number of men involved.
The covered trench system made the attack even more difficult. Some Ottoman positions were hidden beneath substantial log roofs covered with earth. Australian troops had to tear at the fortifications or enter through sections damaged by artillery fire.
Once inside the trench system, movement was restricted and visibility limited. Repeated Ottoman counter-attacks forced both sides into sustained close-range fighting over the same confined ground.
What were the covered trenches at Lone Pine?
Parts of the Ottoman front line at Lone Pine were protected by strong log roofs covered with earth. These concealed and reinforced trenches were a distinctive feature of the battle and a major challenge for the attacking Australians.
Read more
Drew Harrison’s artist notes describe the trench system as one of the key historical details that had to be represented accurately. The positions were deeply dug, strongly roofed and camouflaged beneath earth, making them difficult to identify clearly as the Australians advanced.
Harrison was advised not to make the covered positions visually too obvious in the painting because contemporary accounts suggest the Australians were surprised by the nature of the defences. Damage from the artillery bombardment created some of the openings through which troops were able to enter.
The artist also drew inspiration from Fred Leist’s earlier painting The Taking of Lone Pine, which showed soldiers straining against parts of the trench structure.
Why is Lone Pine important in Australian military history?
Lone Pine became one of the most recognised Australian actions of the Gallipoli campaign. Its importance comes from the ferocity of the battle, the determination required to capture and hold the position, and the place the action came to occupy in the developing Anzac story.
Read more
The battle compressed many of the defining characteristics associated with the Gallipoli experience into a very small area: exposed assault, difficult terrain and fortifications, heavy casualties, close fighting and repeated counter-attacks.
It has consequently been interpreted repeatedly in Australian military art and commemoration. The Australian War Memorial’s Lone Pine diorama made a particularly strong impression on Drew Harrison as a child and later became one of his visual reference points when he received the Military Shop commission.
The Commission
Who painted The Battle of Lone Pine?
The Battle of Lone Pine was painted by Adelaide artist Drew Harrison. Military Shop commissioned the acrylic-on-canvas work for the 2013 Sands of Gallipoli collection, and Harrison completed it in late 2012.
Read more
Harrison came to the project with formal illustrative training, extensive experience in detailed aviation painting and a strong interest in historical accuracy. His aviation work had received recognition in the Royal Australian Air Force Heritage Awards, with examples entering the Service’s permanent collection.
For Lone Pine, he returned to the detailed techniques of his aviation work while combining them with the more open treatment of landscape painting.
How was the Lone Pine painting researched?
Drew Harrison worked closely with Brigadier Chris Roberts AM CSC (Retd) and historian Graham Wilson. Their research helped shape the terrain, Australian line of advance, uniforms, equipment, trench system, viewpoint and time of day shown in the painting.
Read more
Harrison’s artist notes describe several specific details that emerged through the research process: the distinctive white patches and armbands worn by Australians, the unusual Ottoman covered trenches, the late-afternoon timing of the attack and the relatively flat terrain of the Lone Pine plateau.
The Australian War Memorial’s Lone Pine diorama was another important reference because photographic coverage of the opening action was limited. Harrison had remembered the diorama vividly from childhood and used it as one of the historical and emotional starting points for the commission.
Roberts, who had visited the battlefield in 1988, also brought an understanding of the engagement’s physical scale. He believed the completed painting communicated both the compact battlefield and the specific tactical features of the attack with unusual clarity.
What does Drew Harrison's painting depict?
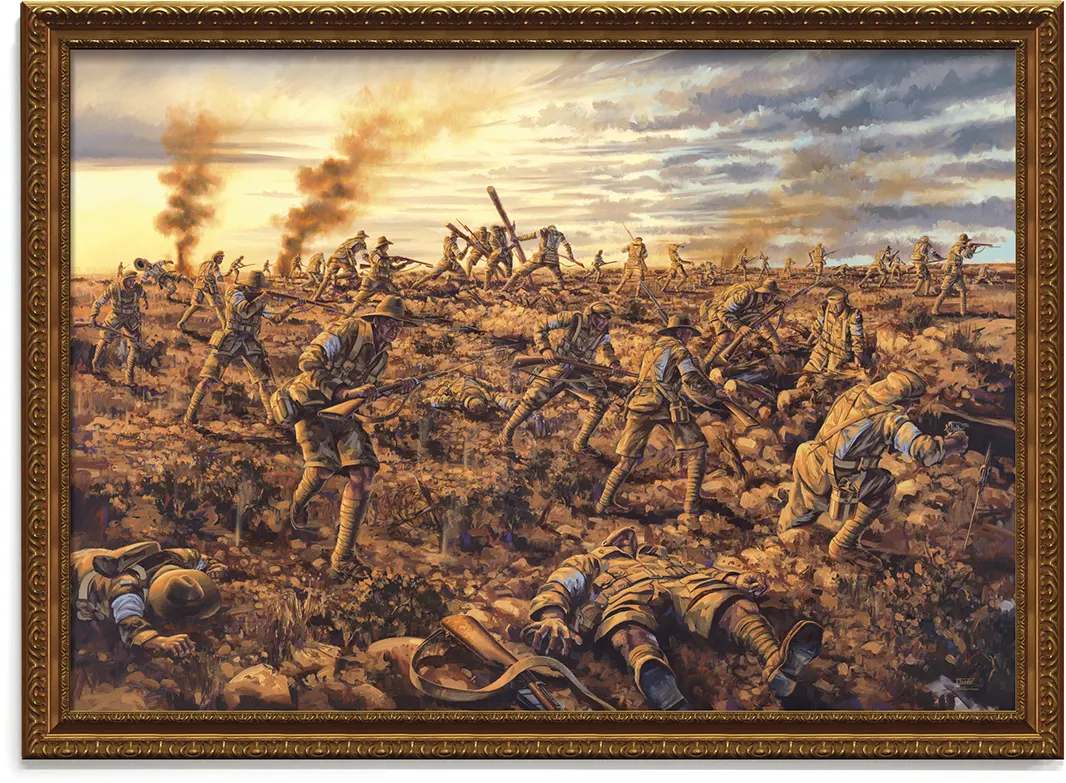
The painting depicts the opening Australian assault late on 6 August 1915. It shows men of the 1st Brigade advancing across the plateau and closing with the fortified Ottoman trench system.
Read more
Harrison used the low late-afternoon sun to create long shadows and dramatic warm light across what was otherwise a relatively flat battlefield. The work includes soldiers exposing and entering covered Ottoman positions, figures fighting at close range, and the broader line of the assault moving across the plateau.
The artist wrote that he wanted the finished work to function as a requiem to those who served or fell, conveying the fear, movement and mortality of battle without turning the violence into spectacle or glorification.
What size is the original Battle of Lone Pine artwork?
The original acrylic-on-canvas painting measures 1545 × 1130 mm. Its large format allows Harrison to show the wider battlefield while retaining extensive detail in the soldiers, equipment and trench system.
Can the original Battle of Lone Pine painting be purchased?
Yes. The original commissioned artwork is being offered from the BrandNet collection for $15,000. It is the source painting from which the 2013 Sands of Gallipoli Lone Pine collection was developed.
Read more
The painting has remained in the BrandNet collection since the commission. A purchaser would acquire the original Harrison work rather than a reproduction or numbered print.
Because of the work’s size and value, specialist delivery, insurance and installation can be arranged directly with the purchaser.
The Collection
What is the Sands of Gallipoli Lone Pine Collection?
The 2013 Sands of Gallipoli Lone Pine Collection was built around Drew Harrison’s commissioned painting. It included Limited Edition medallion sets and art reproductions, with later collectables continuing the Lone Pine story.
Read more
The original 2013 collection included a Set of Six medallions limited to 2,500, a Set of Two limited to 5,000, a framed Giclée print limited to 500 and a full-size canvas limited to 100. Each used Harrison’s artwork as the visual link back to the history of the battle.
Authentic Gallipoli sand was incorporated into the presentation of several pieces, creating a physical connection between the collectable and the place being commemorated.
How many Lone Pine medallion sets were produced?
The Set of Six was limited to 2,500 sets and the Set of Two to 5,000 sets. Both were issued with numbered certificates of authenticity.
Read more
Each medallion is approximately 50 mm in diameter and produced in brass alloy with proof-quality silver finishes and full-colour imagery from Harrison’s painting. The six-medallion set is presented in a timber box, while the two-medallion set is housed in a steel presentation case and sleeve.
Is the sand in the Lone Pine collection actually from Gallipoli?
Yes. The collection includes authentic sand collected from Gallipoli. The sand is presented in a glass vial or incorporated into the display elements of selected art editions.
How limited are the Lone Pine artworks?
The current Lone Pine art editions vary from just 100 to 500 pieces. The full-size canvas is limited to 100, the aluminium print to 250, and the framed Giclée print to 500.
Read more
The full-size canvas measures 1545 × 1130 mm and reproduces the composition at the scale of the original. The framed Giclée is 650 × 530 mm and is hand signed and numbered by Drew Harrison. The aluminium edition measures 360 × 260 mm on 3 mm solid aluminium.
Is the 2005 Battle of Lone Pine medallion sold out?
Yes. The standard, non-Archive numbered edition is sold out. BrandNet retained editions #1–#10, which are now being released individually through the BrandNet Archive.
Archive Editions
What is a BrandNet Archive Edition?
A BrandNet Archive Edition is a low-number piece retained by BrandNet when the original collection was released. For the Lone Pine medallion releases shown here, BrandNet retained certificate numbers #1–#10.
Read more
These pieces were not ordinary later-number retail stock. They were deliberately held back and preserved with their original numbered certificates of authenticity. The Archive program is now making selected retained editions available to collectors for the first time.
Why do Archive Editions #1–#10 cost more?
The premium reflects their very low edition numbers, BrandNet provenance and scarcity. Edition #1 is the first numbered example in the sequence, with premiums gradually reducing through #10.
Read more
The product itself may be physically identical to a standard-number edition, but collectors often place additional value on early numbers, especially #1, #2 and #3. In the case of the 2005 single medallion, the standard edition is sold out, making the retained Archive pieces particularly significant.
Can I choose the exact Archive Edition number?
Yes. Every available number from #1–#10 is offered individually with its own price. Clicking a numbered tile will take you to that exact Archive Edition option once the product variants are live.
Do the Lone Pine Archive Editions include certificates?
Yes. Each Archive Edition shown here retains its original numbered certificate of authenticity. The certificate number corresponds to the specific Archive Edition being purchased.
What happens when an Archive Edition number is sold?
That exact number is gone. Each certificate number exists only once, so once an Archive Edition is purchased its numbered tile is removed from availability.
The Battles of Gallipoli
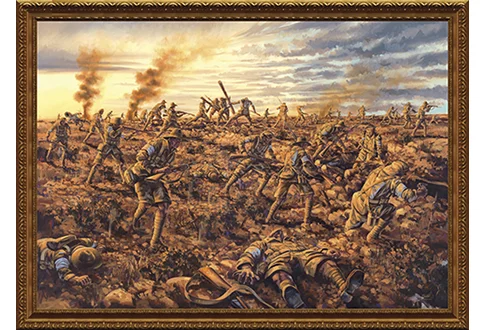
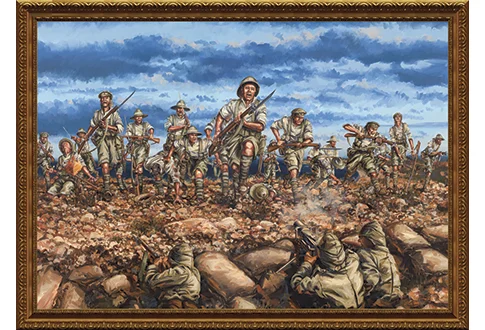
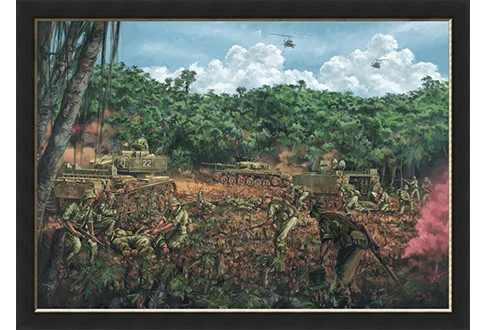
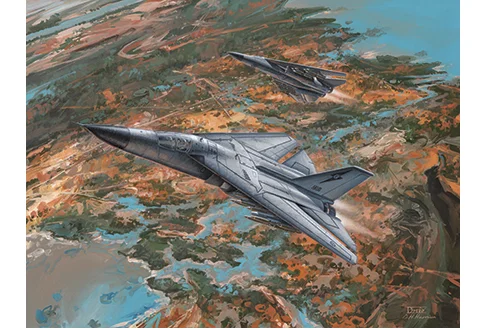
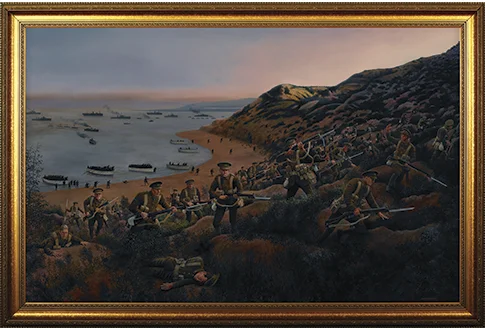
Explore more Australian military stories, art and collectables
The Battle of The Nek is one story within a much larger archive of commissioned military artworks, historically significant pieces, low-number Archive Editions and Limited Edition collections.
Explore The BrandNet ArchivesThe Battle of Lone Pine
When presented with the Lone Pine project my awareness of the specific campaign was limited. Ironically, my first impressions of the battle were drawn from the fantastic dioramas on display at the Australian War Memorial, Canberra. I vividly recall visiting the Memorial as a child and being completely in awe of the superb miniature models. There was a certain wonderment derived from viewing a small snapshot of history and being drawn into the sense of emotion experienced by those who fought during conflict. Most notably I was fascinated with the scene depicting Australian troops fighting an unseen Turkish force in underground trenches at Lone Pine, Gallipoli. As a child, it was impossible to understand the full consequences of war, however, the miniature battle conveyed all the fear, adrenalin, terror and bravery one could only imagine Australian and Turkish soldiers experienced during hand to hand combat.
It soon became apparent during project planning that the diorama was a highly regarded representation of Lone Pine in terms of known accuracy and campaign detail. I was keen to draw parallels with the model as much as possible and did indeed reference some of the figures within the painting. This was important due to the lack of existing photographic material surrounding the opening battle. Painting historically accurate representations requires a large amount of detail and for this particular work I was fortunate to have assistance and guidance from Brig. Chris Roberts AM, CSC (Rtd). During correspondence there emerged some key factors that needed to be incorporated into the painting including - the distinctive white patches and armbands worn by Australians, unique Turkish trench system, time of attack and terrain. Each of these became determining factors for the overall composition and look of the painting and ultimately helped decide the depicted angle and viewpoint.
The Gallipoli campaign and the facts surrounding the ANZAC landing in April 1915 highlight the incredibly difficult topography including sheer cliff faces and impenetrable ridges. Period photos that do exist suggest Lone Pine was, in contrast, a flat plateau with few distinguishing features. This is not always ideal when attempting to create a dramatic scene and one of the challenges was to draw more interest from the flat environment. Fortunately the low dusk-sun helped to cast dramatic shadows across the scene and it was also possible to include foliage and undulating sections of landscape.
Similarly, one of the key identifying features from the initial skirmish was the supremely fortified Turkish frontline trench. As represented in the Memorial model, these were buried defences with a strong, log roof structure and covered completely under a thick layer of earth. With the trenches well camouflaged I was directed to find a way to represent this distinctive feature without making it appear overly obvious. By all accounts the Australians were caught completely by surprise and could only gain access to the trenches via any areas damaged by artillery fire. These latter actions provided the necessary visual key for showing some portion of the covered dugouts. Another source for inspiration was "The taking of Lone Pine" by artist Fred Leist who depicted several troops straining to shift some of the structure. I incorporated a similar action into the painting as homage to Leist's portrayal. For additional drama it was also possible to include a menacing line of Turkish rifles protruding from the narrow defensive slits.
It is not possible to explain my painting process without mentioning a few key influences. In recent times my own painting has been far more contemporary in style with a very clean and crisp realist approach. For the Lone Pine painting it was necessary to re-adopt a style and technique closer to that of my detailed aviation subject matter, while also balancing this with the more open approach of landscape painting. I also sought a lot of guidance from the works of former, and much admired war artists, such as George Lambert and Harold Septimus Power as well as contemporary military artists like Barry Spicer. However, above all others, there is Ivor Hele. His works captured an inherent fluidity, emotion and movement that avoided glorification of war and in my opinion are some of the most honest depictions of human conflict.
I can only hope that my painting of the Lone Pine attack is a requiem to those who served or fell during the battle while providing a sense of combat devoid of over sentimentality.
Drew Harrison - 2012Drew Harrison
Drew Harrison is a practicing artist based in Adelaide, South Australia. His formal illustrative training has provided a solid background for his evolution into contemporary artist. Acrylic paint is Drew's medium of choice and a material that he has adeptly mastered for creating a wide range of works.
Early projects in the field of illustration included several publications such as the children's book A Horse and More. An interest in flight led to a successful period of detailed aviation painting and regular prizes in the Royal Australian Air Force Heritage Awards. These works have since become part of the Service's permanent collection. With an eye for the vast Australian sky, his observational landscapes of the Adelaide Hills are a continued exploration of light, shade and vivid hues. Similarly, these traits are noticeable in Drew's wildlife paintings whereby the very essence of a subject is often manipulated and twisted to a new level. He has found success in all of these fields as either a prize winner or finalist in national competitions. Public acclaim has also been achieved with people's choice awards and highly commended paintings.
Colour, shape, form and texture remain strong hallmarks of his work, however these elements have recently been coupled with a unique and often satirical conceptualisation of 21st century living. In narrative based, expansive series such as Project Icarus, Chasing American Dreams, and the forthcoming Chaos Theories, darker themes have been explored using contemplative and realist subject matter and drawing on influence from pop art. Central to each work is an examination of humanity although this is often represented subliminally via mechanical and inanimate objects.
The current foray into military art represents a culmination of Drew's varied experience across multiple artistic techniques. On return to the field of fine art he has been able to draw influence from a pedigree of artists within this specialised area. However, there remains a characteristically fresh and unique atmosphere within each painting as well as his meticulous eye for historical detail and accuracy.
Drew has exhibited in several group exhibitions and his paintings are represented in private collections. He is also an experienced art tutor who has gained a reputation for effectively communicating and demonstrating practical art knowledge for many years.